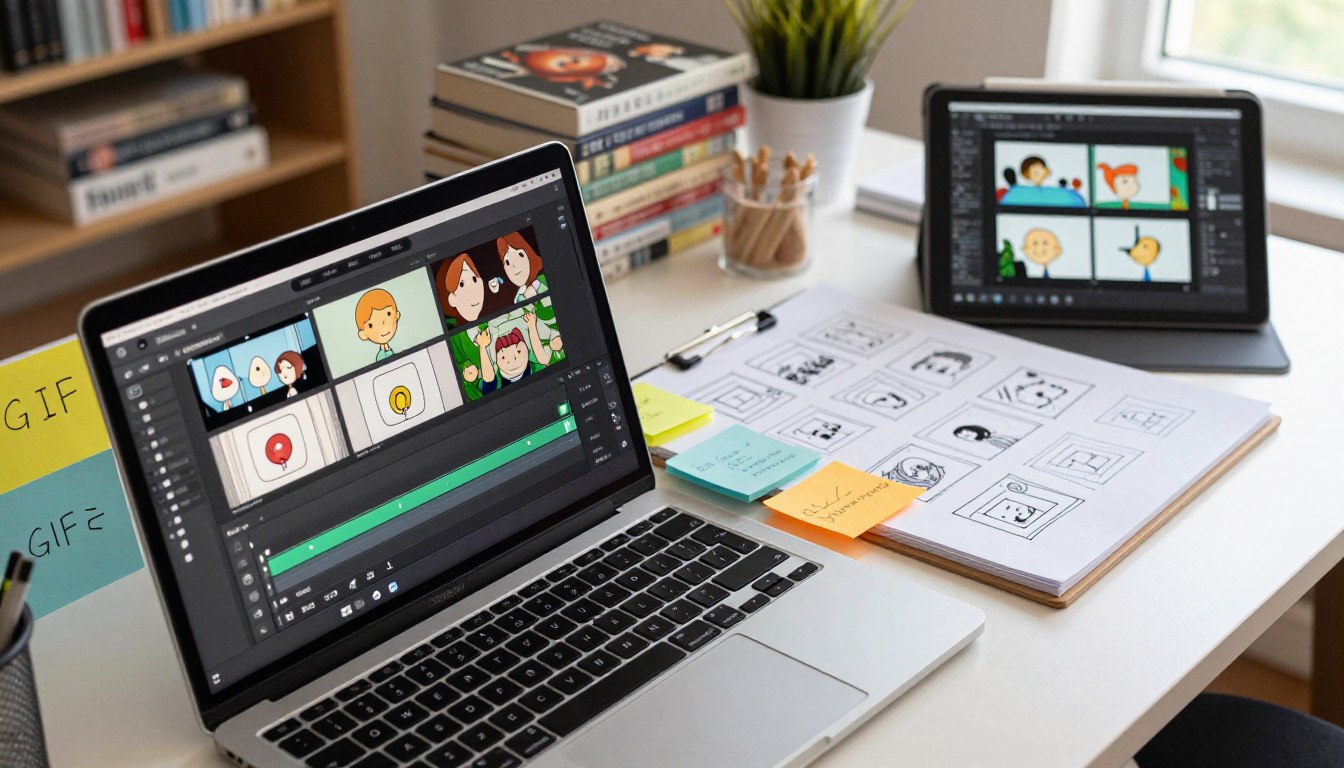
GIF Workflow: Loop Planning and Frame Export Tips
Want to know how to turn Stable Diffusion outputs into smooth, professional loops that hold up in your video library?
This short introduction shows how you can plan the number of frames, tune prompts, and export each frame so your animation looks seamless.
AnimateDiff is the most well known animation extension for Stable Diffusion and it drove many NSFW outputs you may have seen. You will also read about an example made with ComfyUI, while focusing on practical steps rather than tool debate.
By following this guide, you will learn the exact type of animation generation process needed for high-quality video results. You will set the right number of frames, adjust prompts to protect image content, and reduce generation time while keeping quality high.
Key Takeaways
- Plan frames before generation to avoid jitter and maintain smooth animation.
- Use AnimateDiff with Stable Diffusion for consistent image output.
- Tweak prompts and frame count to balance quality and time.
- Export frames in order and verify continuity before compositing.
- Follow simple checks to prevent common errors in your videos.
Essential Software and Environment Setup
A stable local setup is the first step toward consistent image and video results.
Install and verify AUTOMATIC1111 before you try frame exports. You must already have AUTOMATIC1111 installed to use the steps here. ComfyUI can work too, but it is outside this guide.
Open A1111 and click the Extensions tab, then the Available subtab to browse add-ons. Keep your extensions current so each model stays compatible with the latest release.
Installing AUTOMATIC1111
Make sure your machine can process large image sequences. Confirm Python, the web UI, and required drivers are installed. A correct install reduces errors during generation.
Extension Management
Organize models and extensions into clear folders. This helps when you switch model types or update components. Regular updates prevent mismatches during video generation.
- Verify A1111 is running locally before starting any export tasks.
- Update extensions from the Available subtab to keep compatibility.
- Organize models so you can find the right type for each project.
| Task | Why it matters | Action | Outcome |
|---|---|---|---|
| Install A1111 | Enables local image processing | Follow repo instructions and confirm dependencies | Stable base for frame generation |
| Manage models | Supports different model types | Use folders and consistent naming | Faster switching and fewer errors |
| Update extensions | Keeps tools compatible | Check Available tab and apply updates | Smoother generation of images and videos |
Mastering Your AI Porn GIF Workflow
A reliable starting point is to treat each frame as a single image prompt and use 512 for both width and height.
This approach simplifies generation and helps keep image style consistent across frames.
Write your prompt as if you were creating a still image. Set width and height to 512, then run a short test of 5–10 frames. This gives you a quick example to judge model behavior and image quality before committing to longer runs.
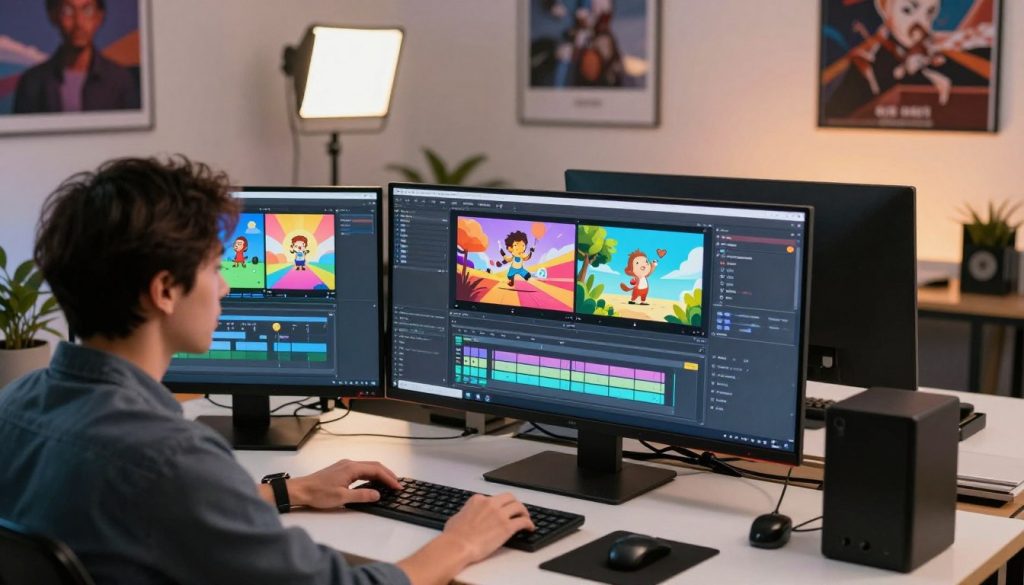
Be mindful of frame count: too few frames create choppy animation, too many waste time. Balance the number of frames with the type of motion you want and the model’s capacity to hold visual features steady.
- Test first: run a short video generation to check results.
- Prompt consistency: keep key words steady across frames to reduce jitter.
- Restart tip: AnimateDiff can clash with ADetailer. If you must use ADetailer, close and restart webui-user.bat after one generation to restore a stable version.
Refine prompt and model selection gradually. With small tests you will improve results and learn which settings suit your type of animation and content best.
Selecting and Installing Motion Modules
Before generating videos, decide which motion module version will shape your animation’s motion style.
Download the motion modules mm_sd_v14.ckpt and mm_sd_v15_v2.ckpt. Place both files into your StableDiffusion Directory\extensions\sd-webui-animatediff\model so the web UI can detect them during generation.
Managing Model Directories
Selecting the right motion model is a key type decision. It determines how your image sequence evolves into smooth animation.
Make sure every file you add is in the correct folder. If a model is misplaced, the software will not load it and your video generation will fail or produce unexpected results.
- Download mm_sd_v14.ckpt and mm_sd_v15_v2.ckpt.
- Move the files to extensions\sd-webui-animatediff\model.
- Restart the web UI and verify the models appear in the model list.
| Action | Why it matters | Expected result |
|---|---|---|
| Install mm_sd_v14.ckpt | Provides a stable motion type | Consistent image-to-video conversion |
| Install mm_sd_v15_v2.ckpt | Offers alternate motion style version | Different motion results for the same images |
| Verify directory | Ensures models load during generation | Fewer errors and repeatable video results |
Configuring Frame Rates and Animation Length
Before you hit Generate, decide how fast your sequence should play and how long it will run.
Setting FPS Parameters
Start by setting the number of frames to 32 and FPS to 16. This standard gives a crisp, usable clip length for most short video projects.
With those values entered, click the Generate button to produce the initial image sequence.
Using Deforum for Extensions
Install and enable the Deforum extension to access interpolation controls and extra motion options.
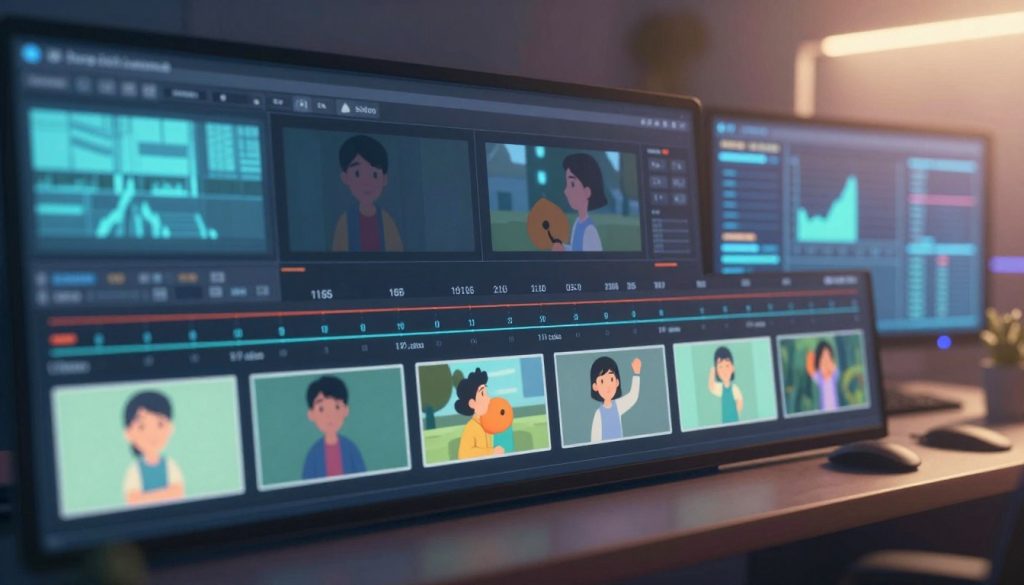
Set Frame Interpolation to FILM and set Interp X to 10 to slow the clip by ten times. This extends a short generation into a longer, smoother video.
Frame Interpolation Techniques
Experiment with FPS and interpolation to match the type of motion you want. Try small changes and review the results.
- Configure FPS 16 and frames 32 for a balanced starting point.
- Use FILM + Interp X 10 to stretch time without re-running heavy generation steps.
- Adjust the model and prompt if key image features shift between frames.
| Action | Why it matters | Outcome |
|---|---|---|
| Set 32 frames / 16 FPS | Controls clip length and smoothness | Predictable playback time |
| Use FILM interpolation | Creates in-between frames | Softer motion, longer videos |
| Tweak FPS | Matches motion type | Better final results |
Advanced Loop Planning and Prompt Consistency
Plan your loops around consistent prompts and a fixed frame count so the images stay stable from start to finish. Consistency is the single best guard against content drift during generation.
Keep the same prompt and negative prompt for every frame. This prevents the model from shifting style or elements mid-clip. Check the Settings panel and enable the Pad prompt/negative prompt to be same length option in Optimizations if your animation changed in the middle.
Decide the number of frames and the clip time before you run a job. That helps you balance quality and render time. If you need a longer result, raise frame count or use interpolation instead of re-running full generation.
Use short checks: sample 5–10 frames first, then review continuity across frames. If an element shifts, stop and re-lock the prompt or try a different model with steadier results.
- Lock prompt length for every frame.
- Enable Pad prompt/negative prompt in Settings.
- Plan frame count to match final video length.
| Task | Why it matters | Action |
|---|---|---|
| Prompt consistency | Prevents content drift | Use identical prompt and negative prompt per frame |
| Pad prompt option | Keeps prompt length stable | Enable same length in Optimizations |
| Frame planning | Controls loop quality | Set number and test short runs first |
Integrating LORA Models for Better Results
Start small: pick one LORA, read its datasheet, then test strength values before full runs.
Get LORAs from Civitai — it is the fastest way to find community-tested files that match common base models.
Use only one LORA at first. Set strength between 0.5 and 1.0. This range keeps changes subtle and helps you judge impact on image detail and final video quality.
Confirm the LORA is compatible with your base model. Incompatible pairings can cause odd artifacts during generation or change the type of output you expect.
- Read the LORA datasheet to learn recommended prompt keywords and intended use.
- Test with a short sequence to compare results before a full animation render.
- Adjust strength and re-test until the model holds consistent features across frames.
| Step | Why it matters | Suggested values |
|---|---|---|
| Choose LORA on Civitai | Find vetted choices for your base model | One model only to start |
| Set strength | Controls effect on images and video | 0.5–1.0 |
| Read datasheet | Gives prompt keywords and tips | Follow recommended tags |
| Short test run | Checks consistency across frames | 5–10 frames |
Troubleshooting Common Generation Errors
When a render fails, start with the basics. Check resolution first. Many model issues occur if you try to generate at or above 512×768. Set your export below that size to avoid errors.
Next, run a quick restart. If the generation stalls or you see odd artifacts, close the web UI and reopen it. This simple step fixed many stalled runs in our example tests.
Verify file placement. Missing or misplaced model files are a frequent cause of failures. Confirm models are in the correct extension folder before you re-run a full animation job.
- Keep resolution under 512×768 to reduce model errors.
- Restart the software when the workflow stalls or images corrupt.
- Confirm model files are correctly placed in the expected directories.
- Check frames and FPS so they stay within supported limits for your system.
| Symptom | Quick fix | Why it helps |
|---|---|---|
| Stalled render | Restart web UI | Clears temporary conflicts |
| Artifacts in frames | Lower resolution | Model stability improves |
| Missing output | Verify model paths | Ensures required files load |
Systematic checks will let you recover faster. Work through resolution, restart, file placement, then settings for frames and FPS. This order solved most errors in our animation generation tests and will keep your projects moving.
Conclusion
Summarize the key setup, testing, and export actions that keep your renders reliable and efficient.
Start each project with a quick checklist: confirm your software, place motion models and LORA files correctly, and set frame count and FPS before generating.
Run short tests of 5–10 frames to check prompt consistency and resolution. This saves time and catches content drift early.
If issues appear, lower resolution and restart the web UI, then re-check file paths. These simple fixes resolve most errors.
Follow these steps and you’ll produce repeatable, high-quality loops. With careful planning and testing, your exports will stay consistent and ready for post-processing.
FAQ
What are the key steps in planning a smooth loop and exporting frames?
Start by defining the loop length and frame rate so your animation cycles without visible jumps. Export a short test sequence first, check the first and last frames for continuity, then adjust timing or camera motion. Use lossless image formats for frames to avoid compression artifacts when you compile the final sequence.
Which software should you install first for a stable generation environment?
Begin with a reliable front end like AUTOMATIC1111 and ensure Python and required libraries match its documentation. Install GPU drivers and CUDA if you use an NVIDIA card. Verify dependency versions to reduce conflicts before adding extensions or motion modules.
How do you manage extensions and keep them compatible?
Only add one extension at a time and test after each install. Track versions in a simple log and use the extension manager inside AUTOMATIC1111 or Git to update safely. Remove or disable any extension that triggers errors to isolate compatibility problems.
What should you know about choosing motion modules for animation?
Select modules that match the type of movement you want: camera paths, character motion, or physics-based effects. Check module documentation for required dependencies and example presets. Prefer well-maintained modules with active issue trackers for faster support.
How do you organize model directories to avoid conflicts?
Keep separate folders for image models, versioned checkpoints, and LoRA files. Name folders clearly and avoid nested duplicates. Point your tool configuration to these directories so it loads the intended model and prevents accidental overrides.
What FPS should you use for web-friendly loops versus high-quality video?
Use 24–30 FPS for cinematic or web loops and 60 FPS for smooth motion or slow-motion effects. Lower FPS reduces generation time and file size, while higher FPS improves perceived fluidity at the cost of more frames to produce.
When should you use Deforum-style extensions, and how do they help?
Use Deforum-style extensions when you need keyframe-driven camera paths, easing curves, or coordinated multi-parameter animations. They simplify complex sequences by letting you script motion and timing in a timeline interface or config file.
What frame interpolation techniques improve perceived motion without regenerating frames?
Use optical flow or neural interpolation tools to synthesize intermediate frames from rendered keyframes. This reduces generation time while preserving smoothness. Test results on short clips to confirm artifact levels before applying to full sequences.
How do you ensure prompt consistency across frames for coherent animation?
Keep core descriptive phrases and character tags consistent across prompts. Use tokenized attributes or a prompt template and only vary parameters tied to motion or scene changes. This reduces flicker and identity drift across frames.
When and how should you integrate LoRA models for improved detail?
Add LoRA modules to boost style, pose fidelity, or facial detail after basic motion proves stable. Load them alongside your primary model and adjust strength settings gradually. Keep versioned copies so you can revert if results degrade.
What common generation errors should you expect and how do you troubleshoot them?
Expect out-of-memory crashes, mismatched dependency errors, or corrupted outputs. Troubleshoot by reducing batch size, updating drivers, checking log files for stack traces, and swapping in a smaller model when necessary. Reproduce the error with a minimal test to isolate the cause.
How can you speed up iteration time during testing?
Lower resolution, shorten the clip, and reduce samples per frame for quick previews. Use caching for model weights and keep a library of reusable prompts and presets to avoid repetitive setup. This helps you converge faster on desired results.